How to Soundproof Your Van on a Budget (For Stealth and Quiet)
Your Van is Way Too Loud. Here’s What to Do About It.
You ever try to sleep while your van sounds like it's inside a tin can being attacked by a steel drum band? Road noise. Engine hum. Rain sounding like a machine gun. It's exhausting. The good news is, you don't need a fancy shop or a fat wallet to fix it. You just need to think like a sound ninja. Quiet isn't just about comfort; it's about stealth. A silent van is an invisible van. Let's get into it.
Forget Fancy Kits. Hit The Big Box Store First.
Here's a secret: the "van life" markup on materials is real. But sound doesn't care where you buy stuff. Your first stop is the auto parts store or the home improvement warehouse. Look for "butyl rubber sound deadening mats" – the stuff people use in car doors. It's perfect for van metal. Then, grab some thick painter's drop cloths or moving blankets. Seriously. We're going to layer this stuff. It's about mass and decoupling, not magic.
Step 1: Slap Some Mass on That Metal (The "Thud" Fix)
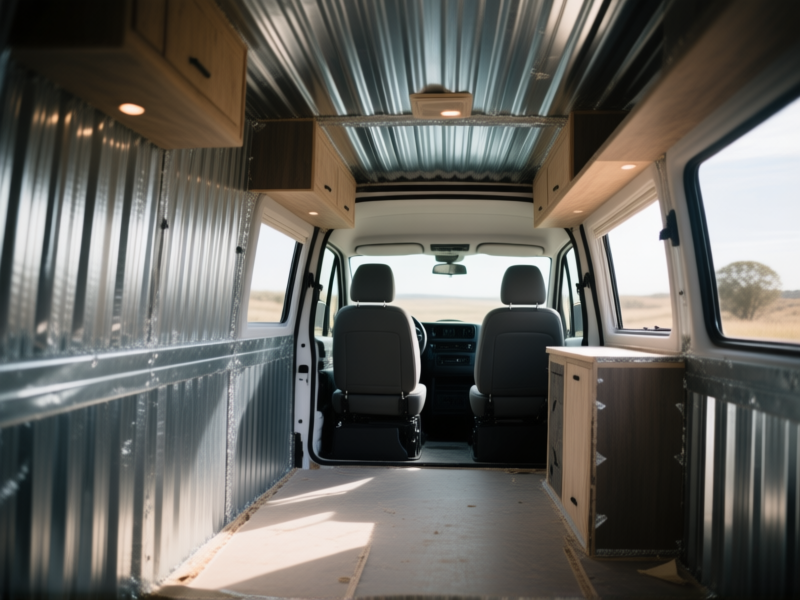
This is your foundation. Your van's sheet metal vibrates like a drum skin. Your job is to make it heavy and dead. Cut your sound deadening mats into fist-sized squares or strips. You don't need to cover 100% of the metal. Aim for 25-50% coverage, hitting the big flat panels. Clean the metal with rubbing alcohol first. Then press each piece on hard, really working it into the curves with a roller. You'll hear the difference immediately. That hollow "ping" turns into a satisfying "thud."
Step 2: Block What's Left with a Heavy Blanket (The "Muffle" Phase)
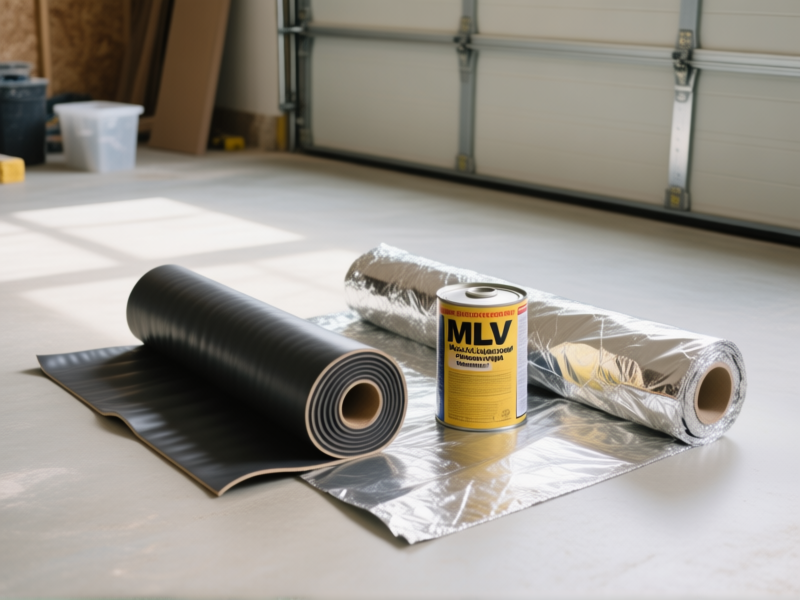
Deadening kills vibrations. But sound is a sneaky little wave that will find any air gap. This is where you block it. Mass Loaded Vinyl (MLV) is the pro move – it's a limp, heavy sheet. On a tight budget? Layer up those moving blankets. The goal is to create a continuous, heavy barrier. Drape it over everything. Overlap seams by a good 6 inches. Use acoustical caulk or double-sided tape on the seams. This layer is what stops the whoosh of the highway and the patter of rain from getting into your space.
Step 3: Plug Every. Single. Hole. (The Stealth Move)
You've probably got a Swiss cheese situation behind your panels. Wiring harness holes. Gaps in the frame. These are sound highways straight into your living room. Get a can of minimal-expanding spray foam. The LOW-expansion kind. You don't want to bend your van. Carefully fill every cavity, every little opening you can find. It's tedious. It's messy. It's also one of the most effective noise killers you can do. This step alone will drop your interior noise floor dramatically. It's the difference between "quieter" and "seriously, are we moving?"
Where to Splurge (If You Have $50 Extra)
If you can, throw your best materials at the biggest problems. The wheel wells are ground zero for tire roar. The engine firewall (behind the dashboard) is where engine noise comes from. The sliding door is a giant, rattling sound leak. Double up your layers here. Use your thickest MLV. Add some closed-cell foam for an extra decoupling layer before your final wall panels go on. Spending your money strategically here gives you the biggest bang for your acoustic buck.
Look, you're not building a recording studio. You're building a peaceful, stealthy home on wheels. Do these steps in order, take your time, and seal it up tight. The first night you sleep through a rainstorm without flinching, you'll know it was worth the effort. Now go make some quiet.